3. 使用 USB 烧录
3.1. 使用前准备
安装Python3 (https://www.python.org/)
使用下列步骤安装 Pip
· 下载 https://bootstrap.pypa.io/get-pip.py
· 使用”python get-pip.py”安装 pip
使用 “python -m pip install pyserial” 安装pyserial
参考 【Linux 开发环境用户指南】【 1.2如何编译BSP 】编译下列档案
fip.bin - bootloader + uboot
boot.emmc/boot.spinand/boot.spinor- minimal Linux image(可选)
rootfs.emmc/rootfs.spinand/rootfs.spinor - rootFS(可选)
system.emmc/system.spinand/system.spinor - rw 分区(可选)
cfg.emmc/cfg.spinand/cfg.spinor - config rw 分区(可选)
partition_emmc.xml -分区表信息
3.2. 操作过程
Windows
准备好固件目录 (由平台对应upgrade.zip解压出来)
将平台的Uart连上Host并且将平台断电,并在命令提示字符下执行以下命令
cd <path\to\project\>\install\cv180x_wevb_000xx_spinor\tools\usb_dl\
py cv181x_dl.py –libusb –image_dir <firmware path>
执行成功后,将平台上电
Linux
准备好固件目录 (由平台对应upgrade.zip解压出来)
将平台的Uart连上Host并且将平台断电,并在终端机
cd <path/to/project>/install/cv180x_wevb_000xx_spinor/tools/usb_dl/
py cv181x_dl.py –libusb –image_dir <firmware path>
执行成功后,将平台上电
3.3. 操作实例
移除平台DC供电并拔掉PC上的USB端口
(以平台cv180x_wevb_000xx_spinor 为例)
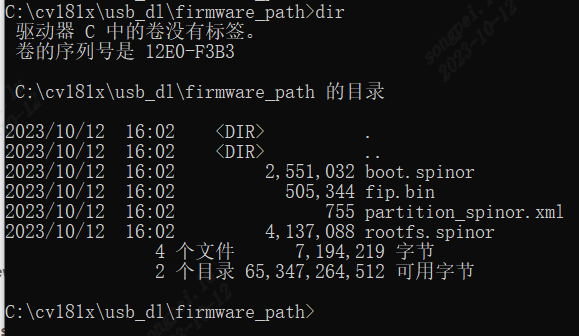
使用前准备,准备好固件目录
到usb 烧录脚本的目录下执行命令
py cv181x_dl.py –libusb –image_dir <firmware path>, 脚本开始等待连上平台

将USB port接上PC后,自动开始刻录

平台刻录完成时,平台会自动重启然后进入系统,可于UART端口看到以下讯息.

3.4. 注意事项
使用 USB 烧录时,请使用 USB 供电,并确认移除 DC 供电。
如果遇到脚本无法正常执行完成,可以用 ctrl+c 中断脚本,并将平台断电后,重新执行 USB 刻录